Email marketing remains one of the most powerful channels for customer engagement and revenue growth. With the right platform and strategy, businesses can send targeted messages, automate workflows, nurture prospects, and measure performance effectively. Brevo is a versatile marketing platform that combines email marketing, automation, CRM, and multichannel messaging to help businesses communicate with their audience at scale.
This in-depth tutorial covers everything a beginner needs to know to set up email campaigns in Brevo — from planning and audience segmentation to content creation, testing, and optimization. Whether you’re launching your first campaign or refining your process, this article provides step-by-step instructions with actionable insights.
Why Email Campaigns Matter
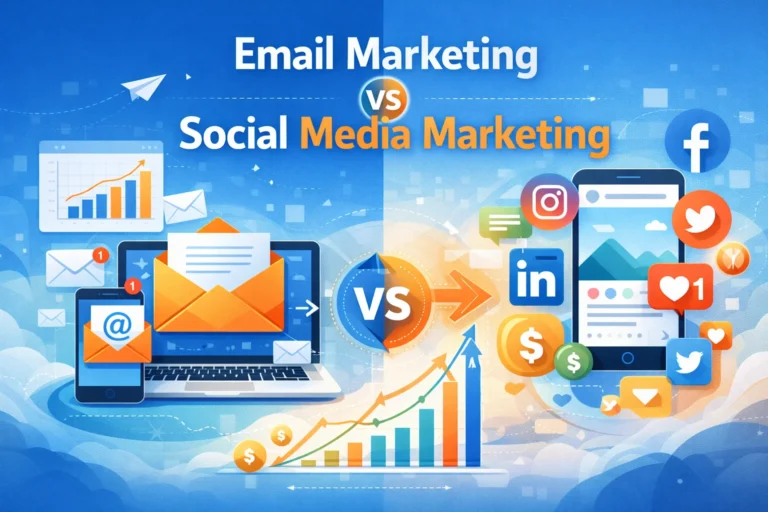
Email campaigns allow you to deliver relevant messages directly to people who have opted in to receive them. Unlike social media or paid ads, email gives you direct access to subscribers without relying on algorithms. Well-executed campaigns can:
- Drive sales and conversions
- Build brand awareness
- Increase customer retention
- Provide value and education
- Nurture leads through automated journeys
Brevo’s email campaign tools make this process intuitive, even for beginners.
Before You Begin: Planning Your Campaign
Effective email marketing begins with a clear strategy. Before logging into Brevo, take time to answer these questions:
- What is the goal of your campaign?
- Promote a product or offer
- Share a newsletter
- Re-engage inactive subscribers
- Deliver curated content
- Who is your target audience?
- All subscribers
- A specific segment (e.g., recent buyers)
- Geography, interests, or behavior
- What action do you want subscribers to take?
- Click a link
- Make a purchase
- Download a resource
- Register for an event
- When should the campaign go live?
- Immediate send
- Scheduled delivery
- Triggered automation
Defining these fundamentals ensures your campaign is focused, measurable, and results-oriented.
Step 1: Sign In to Your Brevo Account
- Visit https://www.brevo.com
- Click Login
- Enter your credentials and access your dashboard
If you haven’t created an account yet, follow the steps in the Brevo setup guide before proceeding.
Step 2: Navigate to the Email Campaign Section
Once logged in:
- In the left sidebar, click Campaigns
- Select Email Campaigns
- Click Create a New Campaign
You’ll be directed to the campaign setup wizard.
Step 3: Enter Campaign Details
Brevo will ask for basic information:
- Campaign Name (Internal):
Use a descriptive name relevant to the goal (e.g., Spring Sale Announcement — March 2026). This helps you find reports later. - Subject Line:
The subject line is critical — it determines whether people open your email. Write something clear, benefit-driven, and engaging. - Preheader Text (Optional but Recommended):
This is the snippet text that appears under the subject in many inboxes. Use it to complement the subject line and increase open rates. - From Name and Email:
Choose a recognizable sender name (your brand or person). This builds trust and improves open rates.
Tip: Avoid using generic senders like “noreply@…” — personalized or brand-focused senders generally perform better.
Step 4: Choose Your Template
Brevo offers several ways to design your email:
1. Drag-and-Drop Editor
Ideal for beginners and marketers without coding skills. You can:
- Build the layout visually
- Add text blocks, images, buttons
- Customize fonts, colors, columns
- Add social media links
2. Pre-Built Templates
Brevo includes responsive templates for:
- Newsletters
- Promotions
- Announcements
- Seasonal offers
Templates are mobile-friendly and fully customizable.
3. Custom HTML
If you have HTML design experience, you can paste custom code for pixel-perfect emails.
Step 5: Design and Write Your Email
a. Structure Your Email
A well-structured email typically includes:
- Header – Brand logo or headline
- Hero section – Main message or offer
- Body content – Supporting details, images, benefits
- Call-to-Action (CTA) – One clear action you want readers to take
- Footer – Contact info, unsubscribe link, social icons
Keep your email focused — one primary CTA per campaign yields better results than multiple competing actions.
b. Craft Effective Copy
- Write in the voice of your brand
- Keep sentences concise
- Focus on benefits, not just features
- Use persuasive but honest language
c. Use Personalization Tokens
Brevo allows you to personalize emails using merge tags, such as:
- First name
- Last name
- Country
- Custom fields
Personalization improves engagement and relevance.
Step 6: Select Your Audience
After designing your email, you must choose who will receive it.
- Click Recipients
- Select a list or segment
Understanding Lists and Segments
- Lists are broad groups of contacts
- Segments are subsets based on behavior, tags, location, or engagement
Segmentation lets you send more relevant messages (e.g., only customers who purchased in the last 90 days), which improves performance.
Step 7: Configure Tracking and Options
In the campaign setup, Brevo lets you enable tracking options:
- Open tracking
- Click tracking
- Google Analytics tracking
- UTM parameters
Enabling tracking allows you to measure engagement and attribute conversions correctly.
Step 8: Preview and Test Before Sending
Before sending:
- Click Preview
– View how the email looks on desktop and mobile - Use Send Test Email
– Send a test to yourself or team members - Check all links and dynamic content
Testing ensures your email displays correctly across devices and browsers.
Step 9: Choose Delivery Timing
Brevo offers options:
Instant Send
Launch your campaign immediately.
Scheduled Send
Choose:
- Date
- Time (based on your audience’s time zone)
Send Time Optimization
Some advanced plans offer features that analyze when subscribers are most likely to open emails and send accordingly.
For beginners, scheduling at peak engagement times (e.g., mid-weekday mornings) often yields better open rates.
Step 10: Launch Your Campaign
Once everything is ready:
- Click Send Now or Schedule
- Confirm your settings
Your campaign enters the sending queue.
Step 11: Monitor Campaign Performance
After launching, tracking performance is essential.
Go to:
Reports → Campaign Statistics
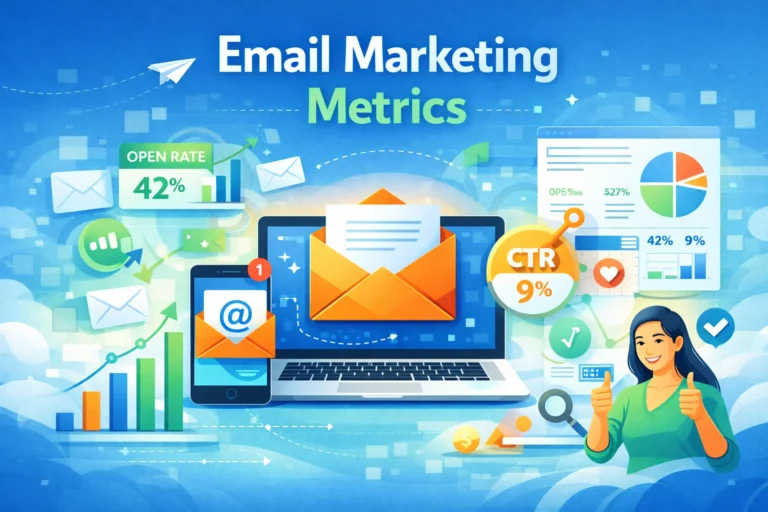
Key metrics include:
| Metric | What It Measures |
|---|---|
| Open Rate | Percentage who opened the email |
| Click-Through Rate (CTR) | Percentage who clicked a link |
| Bounce Rate | Emails that failed to deliver |
| Unsubscribe Rate | People who opted out |
| Conversions | Actions taken after clicks |
Each metric tells a story. For example, a low open rate suggests subject line issues, while high clicks and low conversions may indicate landing page faults.
Step 12: Analyze and Optimize
Use the data to improve future campaigns:
a. Test Subject Lines
A/B test two subject lines to see which performs better.
b. Refine Audience Segments
Split email lists by behavior or preferences to increase relevance.
c. Tweak Content
If clicks are low, consider improving CTAs, visuals, or copy.
Optimization is an ongoing process.
Tips for Higher Engagement and Deliverability
1. Authenticate Your Sending Domain
Set up SPF and DKIM to improve deliverability and reduce spam flags.
2. Use Double Opt-In
Require new subscribers to confirm their email address. This reduces bounce rates and spam complaints.
3. Clean Your List Regularly
Remove inactive or invalid emails to protect sender reputation.
4. Respect Frequency
Do not overload subscribers. Maintain a consistent but reasonable email schedule.
Common Beginner Mistakes to Avoid
Mistake #1: Ignoring Mobile Preview
Most people read emails on mobile devices. Never skip mobile testing.
Mistake #2: Overloading with Multiple CTAs
Too many calls to action dilute focus. Stick to one main objective.
Mistake #3: Sending to Unsegmented Lists
Unsegmented emails tend to produce lower engagement and higher unsubscribes.
Mistake #4: Failing to Test
Sending without previewing or testing can result in broken links or formatting problems.
Using Automation for Smarter Campaigns
After mastering basic campaigns, you can use Brevo’s automation to supercharge engagement:
- Welcome Series for new subscribers
- Abandoned Cart Flows for ecommerce
- Birthday or Anniversary Messages
- Re-engagement Sequences
Automation increases relevance while saving time.
Frequently Asked Metrics to Watch
In addition to opens and clicks, pay attention to:
- Click-to-Open Rate (CTOR): Indicates content relevance
- Conversion Rate: Measures effectiveness of your campaign objective
- Engagement Over Time: Tracks trends in subscriber interaction
Tracking these deeper metrics helps refine strategy.
Leveraging Multi-Channel Messaging
Brevo also supports:
- SMS campaigns
- Push notifications
- WhatsApp messages
- Live chat
Use these channels to complement emails and improve overall engagement.
Final Thoughts
Setting up email campaigns in Brevo is straightforward, but doing it well requires thoughtful planning, audience understanding, and careful optimization. From sunrise steps like crafting compelling subject lines to deeper tactics like segmentation and automation, each element influences your campaign’s performance.
With Brevo’s intuitive tools, strong automation features, and scalable infrastructure, even beginners can create impactful email campaigns that drive engagement, leads, and revenue.
Invest time in testing, review performance data regularly, and always keep subscriber value at the center of your strategy — and your email campaigns will become stronger with every send.
FAQ’s
1️⃣ How do I create my first email campaign in Brevo?
To create your first campaign in Brevo, log in to your account, navigate to Campaigns → Email Campaigns → Create New Campaign, then enter your campaign name, subject line, and sender details. Choose a template (drag-and-drop, prebuilt, or HTML), design your email, select recipients, enable tracking, preview, and finally send or schedule the campaign.
2️⃣ Can I schedule email campaigns in Brevo?
Yes, Brevo allows you to schedule campaigns for a specific date and time. You can also use Send Time Optimization (available on higher-tier plans) to automatically send emails when recipients are most likely to engage. Scheduling campaigns ensures your messages reach subscribers at peak engagement times.
3️⃣ What is the difference between a list and a segment in Brevo?
- Lists are broad groups of contacts, such as all newsletter subscribers.
- Segments are subsets of lists filtered by behavior, tags, location, or engagement.
Segments allow for targeted and personalized campaigns, which generally result in higher open and click-through rates.
4️⃣ How do I improve email deliverability in Brevo?
Key practices for better deliverability include:
- Authenticating your sending domain with SPF and DKIM
- Using double opt-in for subscribers
- Regularly cleaning your email list of inactive contacts
- Avoiding spammy language in subject lines and content
- Testing emails before sending
5️⃣ Can beginners use automation with Brevo campaigns?
Yes, even beginners can use Brevo’s visual automation workflows. You can set up triggers for:
- Welcome emails for new subscribers
- Abandoned cart follow-ups for ecommerce
- Re-engagement sequences for inactive users
Automation ensures relevant messages reach the right audience at the right time, saving manual effort and improving engagement.