A Complete, Practical Walkthrough for 2026
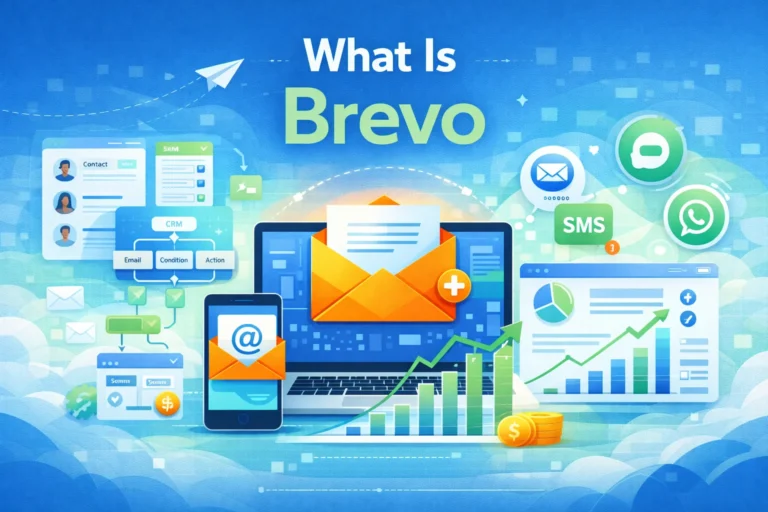
Brevo has become one of the most popular all-in-one marketing platforms — especially for small businesses, ecommerce stores, freelancers, and solopreneurs. It offers an accessible free plan that allows users to manage email campaigns, automation workflows, CRM contacts, and multi-channel messaging without initial costs.
This detailed, step-by-step guide walks you through the entire process of setting up your free Brevo account, configuring essentials, and preparing your workspace for email marketing success. It also includes real-world tips, best practices, and common pitfalls to avoid.
Why Choose Brevo?
Before we begin the steps, it’s important to understand why Brevo is a great choice for beginners and growth-focused marketers alike:
- Free Starter Plan: No credit card required to start.
- Unlimited Contacts: Unlike many platforms that limit by contact count, Brevo limits email volume — ideal for growing lists.
- Marketing Automation: Build workflows and automated email sequences even on lower-tier plans.
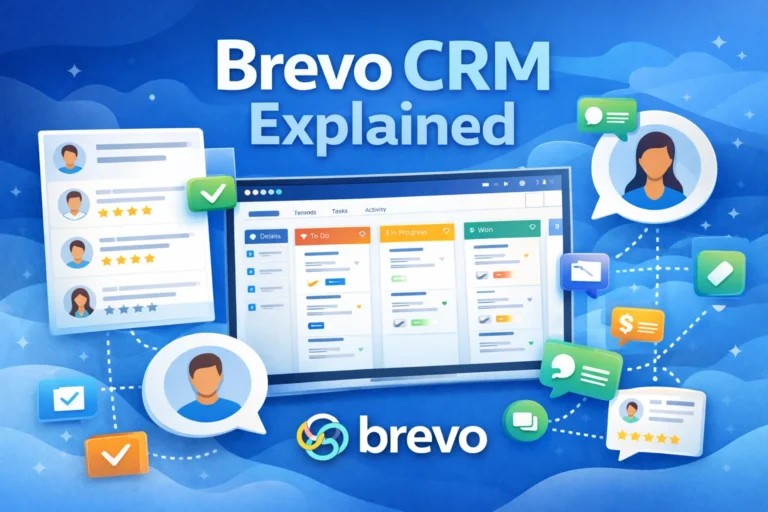
- CRM Integration: Built-in contact management and deal pipelines.
- Multi-Channel Messaging: Email, SMS, push notifications, and live chat under one platform.
- Ease of Use: Intuitive user interface and onboarding experience.
With these advantages, Brevo is well-suited for anyone seeking a scalable email and marketing communication solution.
Before You Start: What You’ll Need
✔ A valid email address
✔ A business or project name
✔ Basic business details (optional but recommended)
✔ A strong password (use a password manager if needed)
You don’t need a payment method to create the free account.
Step 1: Visit the Brevo Signup Page
- Open your web browser and go to www.brevo.com.
- Click the Sign Up or Get Started Free button, typically found in the top navigation.
You will be prompted to enter your email address to begin the registration process.
Step 2: Enter Your Email Address
On the first screen:
- Enter a valid email address (your work or business email is preferred).
- Click Continue.
This email will be your login username and the address where account notifications are sent.
Tip: Use a professional email address instead of a generic one (like Gmail or Yahoo) if this account will be used for business communications.
Step 3: Create a Secure Password
You’ll be prompted to:
- Choose a strong password
- Confirm the password
Your password should include:
- At least 8 characters
- A mix of uppercase and lowercase letters
- Numbers or symbols
A strong password protects your subscriber data and marketing assets.
Step 4: Confirm Your Account by Email
Brevo will send a verification email to the address you provided.
- Open your email inbox.
- Find the verification email from Brevo.
- Click the Verify Email button.
If you don’t see the message within a few minutes:
- Check your spam folder
- Resend the verification link
Email verification is necessary to activate your account and prevents unauthorized use.
Step 5: Complete the Initial Setup Wizard
Once your email is verified, Brevo typically launches a setup wizard that asks:
- Your name
- Business name
- Website URL (if available)
- Your goals with Brevo (e.g., newsletters, transactional emails, automation)
These details help Brevo tailor your dashboard and recommend templates or workflows.
Take a moment to fill this in accurately — it improves onboarding suggestions and analytics tracking.
Step 6: Accept Terms and Privacy Policy
You’ll be asked to agree to Brevo’s:
- Terms of Service
- Privacy Policy
- Data processing terms (especially if based in or serving EU/UK customers)
Be sure to review these policies. They explain how your data will be used and stored.
Step 7: Set Up Two-Factor Authentication (Optional but Recommended)
For added security:
Brevo allows you to enable Two-Factor Authentication (2FA).
When activated:
- You’ll receive a code on your phone or authenticator app each time you log in.
- It greatly increases account protection.
This step is optional on the free plan but highly recommended for accounts with sensitive data.
Step 8: Configure Basic Account Settings
Once you’re inside the dashboard, take time to set up essential details:
a. Company Information
Navigate to:
Settings → Company Details
Add:
- Business name
- Address
- Website URL
- Phone number
This information may be used in email footers or transactional messages.
b. Time Zone & Language
Ensure your account is set to the correct:
- Time zone
- Language
This affects scheduled campaign delivery and reporting timestamps.
c. Email Sending Domain Setup (Important)
Brevo allows you to authenticate your sending domain:
- Go to Settings → Senders & Domain
- Add your domain
- Follow the DNS setup instructions (SPF & DKIM)
Authenticated domains:
- Improve deliverability
- Reduce spam flagging
- Build brand trust
You can still send on the free plan without authentication, but configuring it early ensures better results.
Step 9: Add Your First Contacts
You can manually add contacts or import from:
- CSV or Excel file
- CRM export
- Previous email lists
Go to:
Contacts → Import Contacts
Include separate columns for:
- Email address
- First and last name
- Tags or segments (optional but helpful)
Brevo will recognize duplicate entries and prompt you to merge or ignore them.
Tip: Use double opt-in (confirmation email) to ensure compliance and list quality.
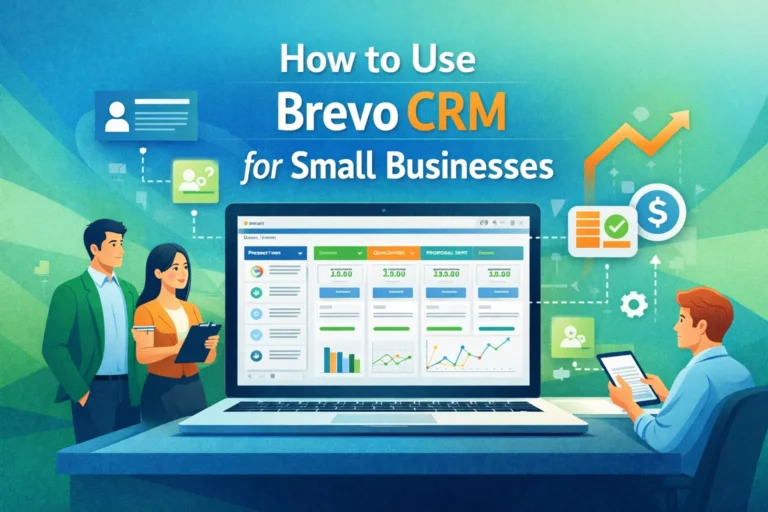
Step 10: Create Your First Email Campaign
Now that your account and contacts are ready, let’s create your first campaign.
- Navigate to Campaigns → Create New Campaign
- Enter:
- Campaign name (internal)
- Email subject line
- “From” name (your business or brand)
- Choose a template:
- Drag-and-drop editor
- Plain text
- Pre-built templates designed for newsletters, promotions, or announcements
Best Practices for Email Setup
- Write a clear subject line
- Personalize with merge tags (e.g., first name)
- Include a strong call-to-action (CTA)
- Preview on mobile and desktop
- Test send before launch
A good first campaign helps you learn faster and start engaging subscribers immediately.
Step 11: Explore Automation Workflows
One of Brevo’s biggest strengths — even on free and starter plans — is automation.
Go to:
Automation → Create a Workflow
Common beginner workflows:
- Welcome email for new subscribers
- Lead magnet delivery email with follow-ups
- Birthday or anniversary emails
Brevo’s visual automation builder makes it easy to trigger actions based on events like:
- Opened email
- Clicked link
- New subscription
- Tag added
Automations ensure continuous engagement with minimal effort.
Step 12: Monitor Your First Campaign Analytics
After sending your first campaign:
Navigate to:
Reports → Campaign Statistics
Key metrics to track:
- Open rate
- Click-through rate (CTR)
- Bounce rate
- Unsubscribe rate
- Conversions (if tracked)
These benchmarks help you refine future campaigns.
Tips to Improve Deliverability and Engagement
Use Explicit Opt-In
Always ask new contacts to confirm subscription via a confirmation email. This reduces spam complaints.
Segment Early
Use tags or segments to group contacts by interest, behavior, or source — which improves relevance.
Avoid Purchased Lists
Only email people who have willingly subscribed to your account. Purchased lists damage deliverability and violate compliance standards.
Send Consistently
Regular campaigns (weekly or biweekly) keep engagement high — but don’t over-email.
Common Mistakes to Avoid
Not Authenticating Your Domain:
This reduces deliverability and increases spam flags.
Ignoring Reporting Data:
Metrics like open rate and CTR tell you what’s working — and what isn’t.
Sending Without Segmentation:
All subscribers are not the same. Segment for better results.
Overpromising in Signup Offers:
Deliver only what you promise to avoid unsubscribes.
Free Account Limitations and When to Upgrade
The free plan is powerful but has limits:
- Daily sending cap
- Brevo branding on emails
- Limited automation triggers
You may consider upgrading when:
- You need higher send volume
- You require advanced automation
- You want removal of Brevo branding
- You need SMS or WhatsApp messaging
Brevo’s paid plans scale based on email volume and features, offering predictable growth paths.
Final Thoughts
Creating a free account on Brevo is straightforward, but doing it right makes all the difference. With proper setup, authenticated domains, quality contact management, and strategic automation, you can launch effective email marketing campaigns — even with minimal experience.
Brevo’s flexible free plan bridges the gap between simple newsletters and full marketing automation. Whether you’re a small business owner, startup founder, or freelance professional, this guided setup puts you on the path to building meaningful customer relationships through email and multi-channel communication.
Now that your account is ready, the real journey begins: engaging your audience and converting subscribers into loyal customers.
FAQ’s
1️⃣ Is Brevo really free to use?
Yes, Brevo offers a free plan that allows users to send up to 300 emails per day (around 9,000 per month) with unlimited contacts. The free account includes core features like the email editor, contact management, basic automation, and reporting. However, emails sent on the free plan include Brevo branding, and advanced features require upgrading to a paid plan.
2️⃣ Do I need a credit card to create a free Brevo account?
No, you do not need a credit card to sign up for Brevo’s free plan. You can create an account using only your email address and basic business information. This makes it easy for beginners and small businesses to test the platform without financial commitment.
3️⃣ How long does it take to set up a Brevo account?
Creating a Brevo account typically takes 5–10 minutes, including email verification. However, properly setting up your domain authentication (SPF and DKIM), importing contacts, and configuring settings may take additional time. Completing these steps improves deliverability and campaign performance.
4️⃣ Can I use Brevo for email marketing without a website?
Yes, you can use Brevo without having a website. However, having a website helps you collect subscribers through signup forms and landing pages. If you don’t have a website, you can still build your email list using Brevo’s built-in forms, landing pages, or social media promotions.
5️⃣ What should I do after creating my Brevo account?
After creating your account, you should:
- Verify and authenticate your sending domain
- Add or import contacts (with permission)
- Set up a welcome email or automation workflow
- Create your first email campaign
- Monitor performance metrics like open rate and click-through rate
Following these steps ensures your account is fully optimized before sending campaigns.